This guide will show you how to start staking with CSPR, from selecting a secure wallet to receiving your rewards and delegating the process to a validator. Following these simple steps will enable you to participate effectively in the Casper network and maximize your earning potential.
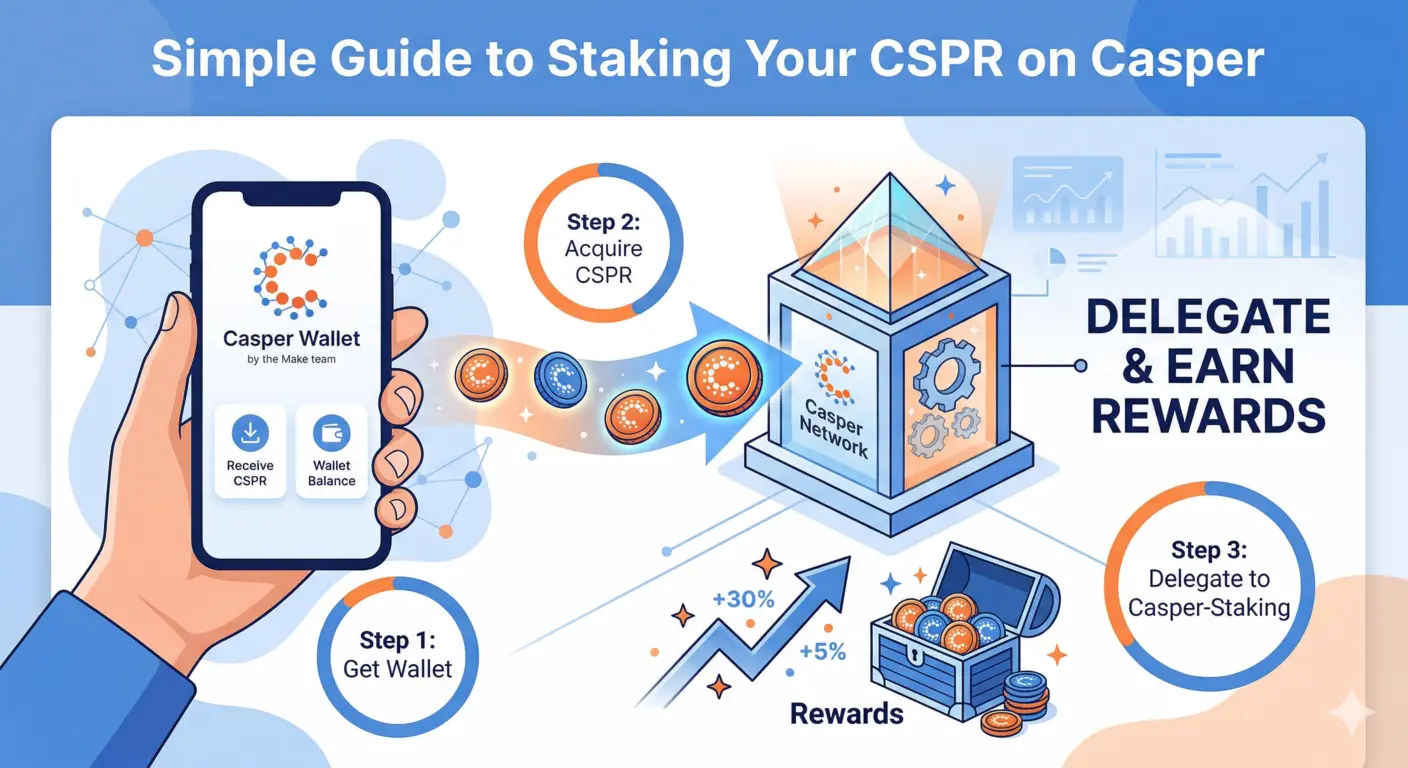
Step 1: Choose a Casper Wallet
Recommended Wallet: Casper Wallet by the Make team. This wallet is designed in close collaboration with Casper, ensuring maximum innovation and security.
Setup: Follow the provided instructions to set up your Casper Wallet.
Step 2: Acquire CSPR
Direct Purchase: Buy CSPR directly in your Casper Wallet using your credit card.
Transfer CSPR: If you already own CSPR on an exchange, transfer them to your wallet.
Copy your public key from your wallet. You can find this key by clicking on the string of numbers and letters under your account name, or through cspr.live by clicking the three dots right next to your account and selecting « view on cspr.live. »
Do the transfer from your exchange to your wallet.
Step 3: Delegate Your CSPR to Casper-Staking
Delegation: Once your CSPR are in your wallet, click on our node to delegate the desired number of CSPR.